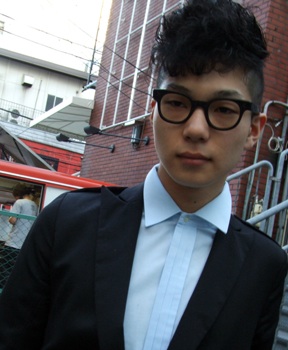
 a relaxed, modern quiff on a head of naturally curly ginger locks, from The Facehunter
Mainstream men's magazines make today's guys out to be busy, lazy squares who can't be bothered to spend time and effort on their appearance. It's a notion that I'd like to challenge. Kids today hand-stud their shoes and coats until their fingers bleed, and manually thread old t-shirts and jeans until they go blind---they seem to pull out all the stops for the sake of individuality.
 I'm almost completely positive this fellow's quiff is perma-curled. Good stuff. from Drop Snap
I, for one, don't mind putting forth a little elbow grease to make myself look crazier than I usually do, or at the least, different from everyday. So for those as mentally experimental as I am, here's a good forty-minute time-killer that though I don't guarantee it to be the most flattering look on you, at least you'd have the answer to that ever-nagging question, "How would I look curly?"
This procedure is not mine to take credit for, rather, my friend Quan Mai taught it to me by way of a very long Facebook wall post and a couple more follow-up messages. So here it is, married with my own pointers and tips I got from doing the procedure myself:
1. Run a good amount of gel through damp hair.
2. Blow dry hair, but not completely dry, about 90% dry.
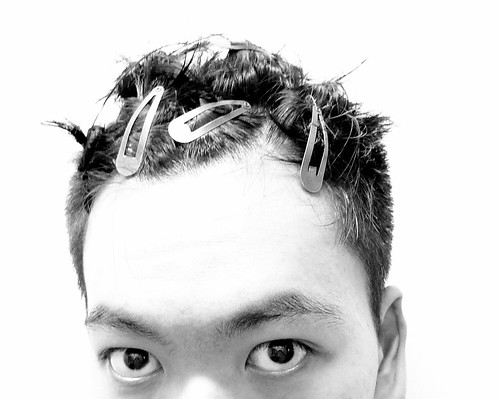
3. Take a section of hair, twist until it coils flat on your head, and clip it down with one of those tight snappy clips. The more sections of hair you create, the curlier it will be.
 Work out those arm muscles, this 'do can cause serious strain!
4. Leave the clips on for 30 minutes or longer depending on how wavy you want it. It helps to blow the clipped and coiled hair with a hairdryer to heat-set the style, but that step is not absolutely necessary.
 Part of me cracks up as I look at this photo and am reminded of a horror doll head, the other part of me is seriously thinking of replacing my current Twitter avatar with it...
Remember that the parts of your head with thinner hair (e.g. just above the temples) will curl more quickly and more tightly than thicker hair, so you might want to leave the clips on for a little less in those areas.
5. Remove the clips and run your fingers through your hair to untangle the coils.
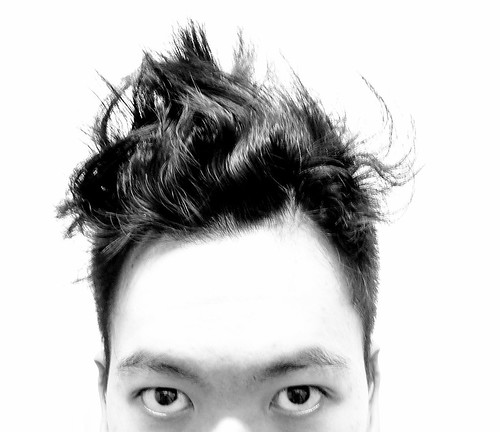 The hair fresh from the clips, wear it like this if you wish...
6. Style as desired, and remember to spray with hairspray to lock the curls in.
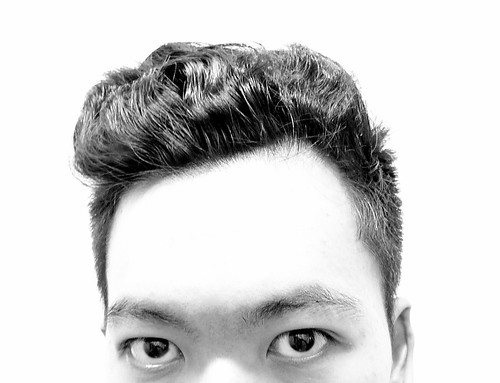 ...or slick it back clean with the waves adding subtle texture and volume.
 I personally went for something in between, slightly pulled together and back, with a couple of curls free to flop about as they wish. Have fun!
P.S. Thanks to Quan for his very detailed instructions. Check out his blog, Geneticboi.P.P.S. Scroll down a bit and by the right you'd see a few of the blog's greatest hits (my designs, the guide to having things tailor-made, etc.) conveniently linked with pictures for easy access.