 potential sartorial treasures in my dad's bodega
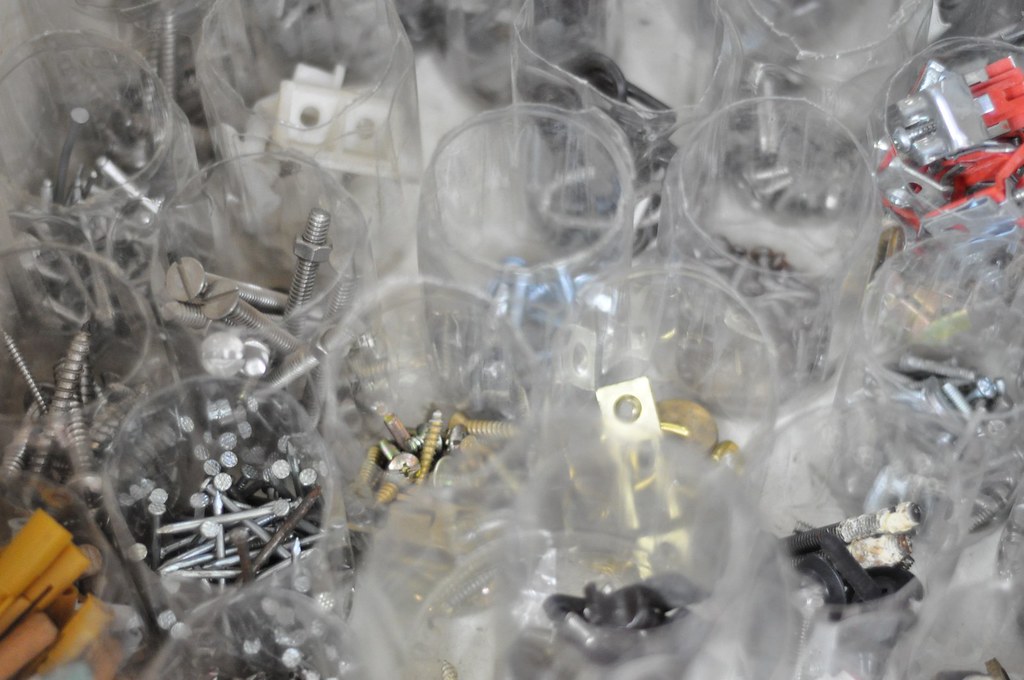
Partly inspired by Baartmans and Siegel's jet-beaded collar and that Prada collection where they did bags decorated with nuts and bolts (Fall 2007), the process for this DIY project flooded my brain in a flash. I could almost see the finished product while staring at those repurposed plastic soda bottles filled with hardware knick-knacks.
This white dress shirt wasn't getting as much wear as the other more well-made white dress shirts in my closet. However, it had a collar stiff enough to withstand solid metal beading.
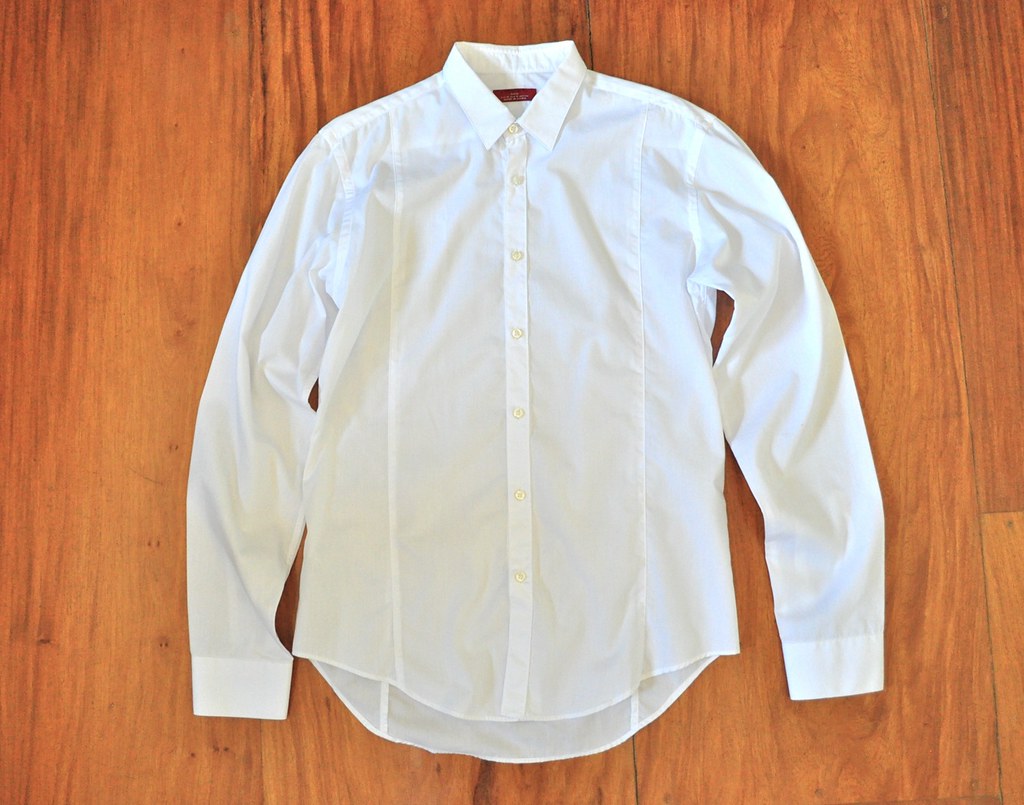 white shirt from Zara
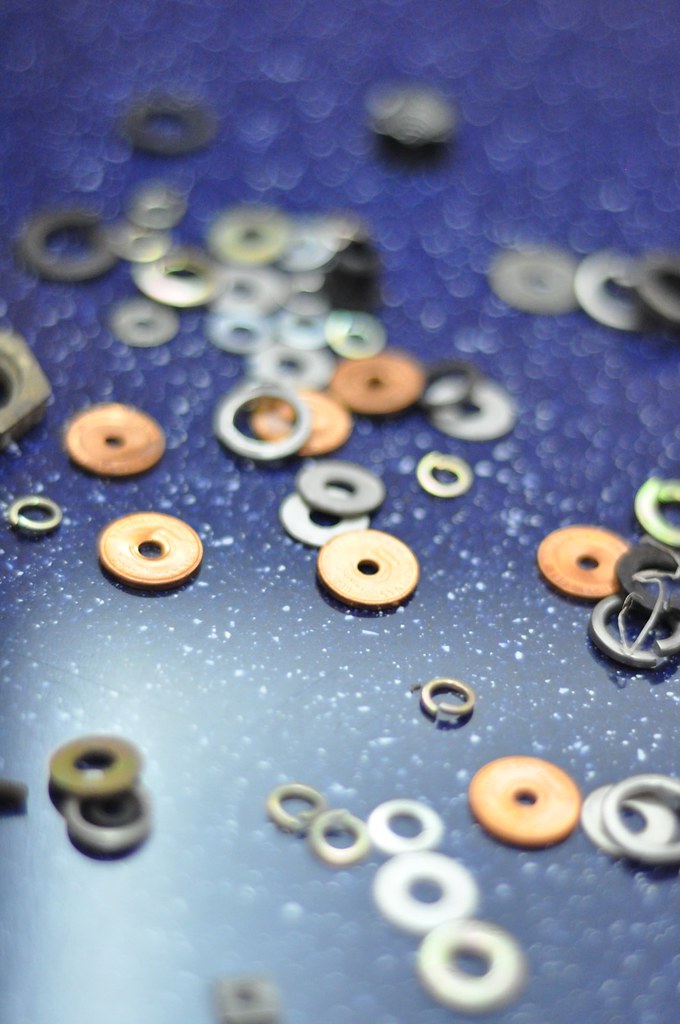 I used an assortment of nuts and washers of varying shapes and sizes, and for a touch of Filipino pride, bright copper five-centavo coins as accent pieces.
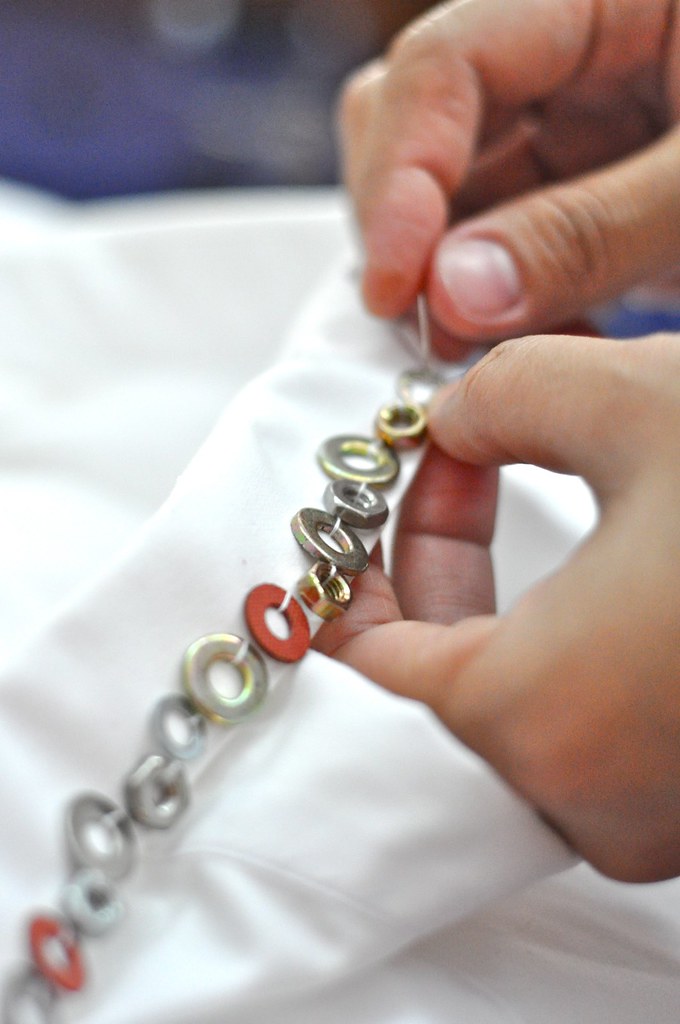 I started beading the outline of the collar, doing a running stitch along the border, adding a bead on every stitch. I tried not to put any identical beads beside each other, and made sure to lock the stitch every so often to prevent the entire beadwork from coming off in case a thread breaks.
 I then filled in the spaces and added two to three stitches per nut/washer to secure everything in place.
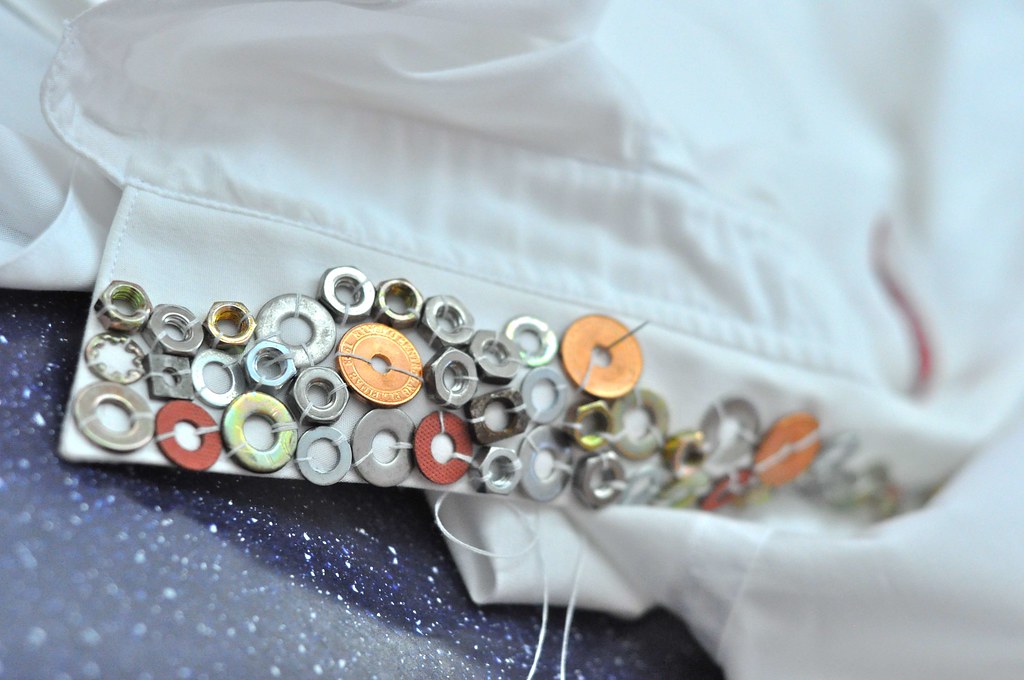 Took a little breather here, but it was almost done. I tried to place the prettier beads up front. I love rusty rectangular one and the round one with the star cutout.
And here it is, my obra maestra:
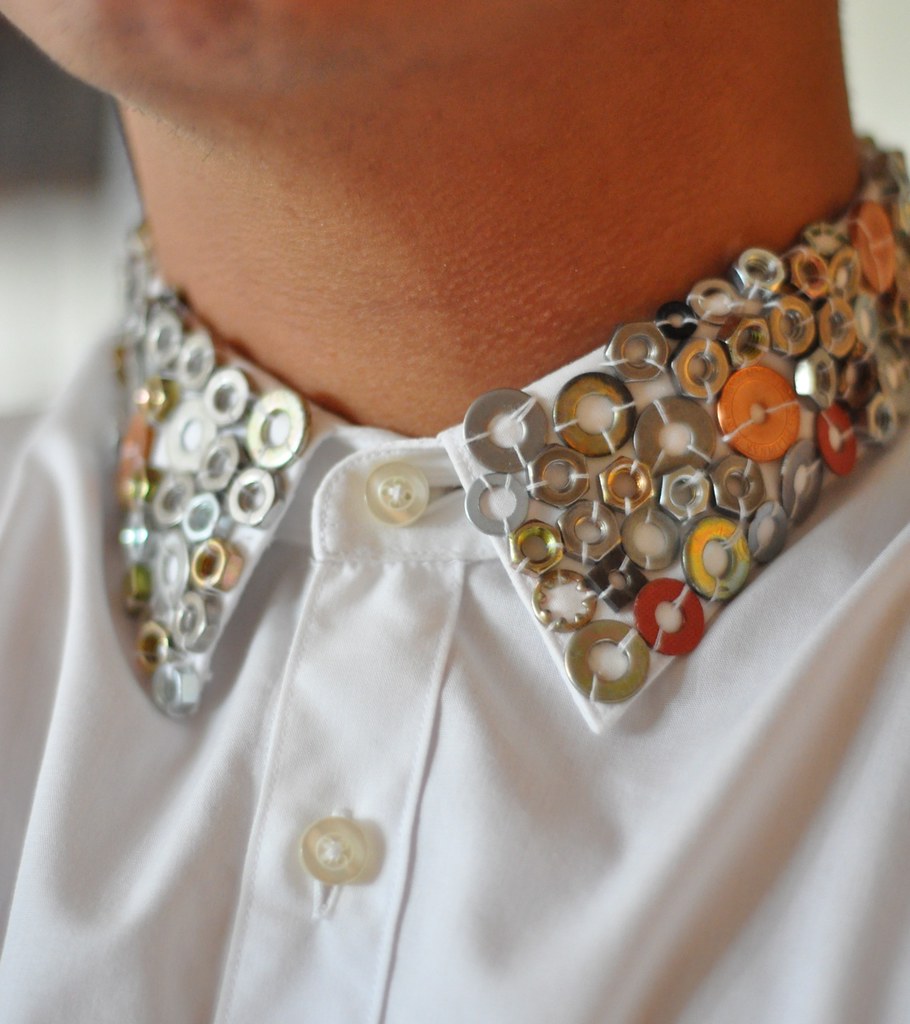 shirt collar encrusted with steel and brass nuts, washers, and Philippine five-centavo coins
Here it is worn:
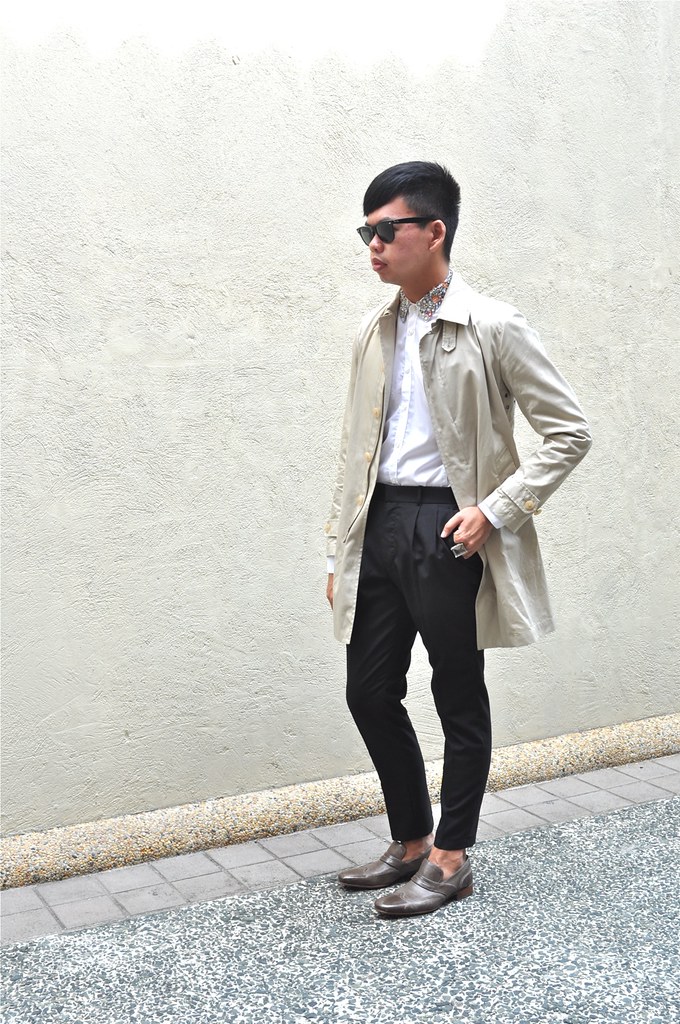 Ray-Ban sunglasses, Jil Sander for Uniqlo coat, DIY shirt with a nut-washer-and-coin-encrusted collar, tailor-made trousers, Club Monaco ring, NDC shoes
This might have been the most technically challenging of my DIY projects yet, and the shirt wouldn't have turned out the same if not for the aid of Maricel and her deft hands. But seeing this result after all that effort leaves me doubly pleased. If I were launching a collection today, this shirt may very well be the star of my finishing look.